Development Environment
Source Code, Compilers, and System Generator
Arduino UNO Support
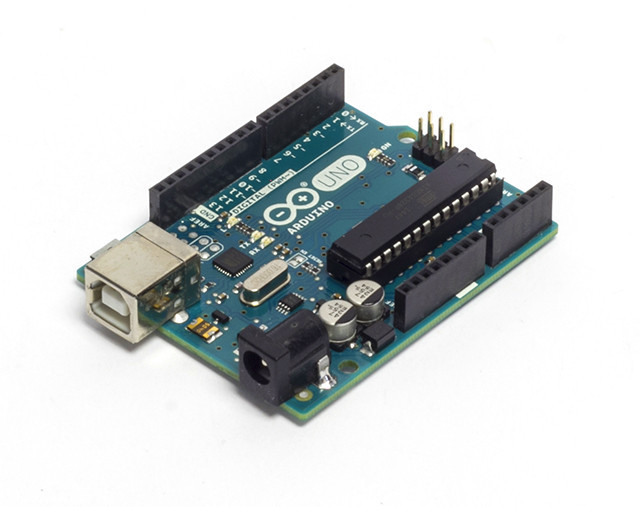
Arduino is an open-source prototyping platform based on easy-to-use hardware and software. It features an 8-bit AVR ATmega328p microcontroller running at 16MHz. As compared to the ARM Cortex M microcontrollers in the NUCLEO boards, the ATmega328p features more stringent memory resources. It has 32KB of flash, only 2KB of SRAM, and 1KB of EEPROM. However, the Arduino UNO board is one of the most popular prototyping platforms around the world. Over the years it has been the brain of thousands of projects, from everyday objects to complex scientific instruments. A worldwide community of makers - students, hobbyists, artists, programmers, and professionals - has gathered around this open-source platform, their contributions have added up to an incredible amount of accessible knowledge that can be of great help to novices and experts alike.
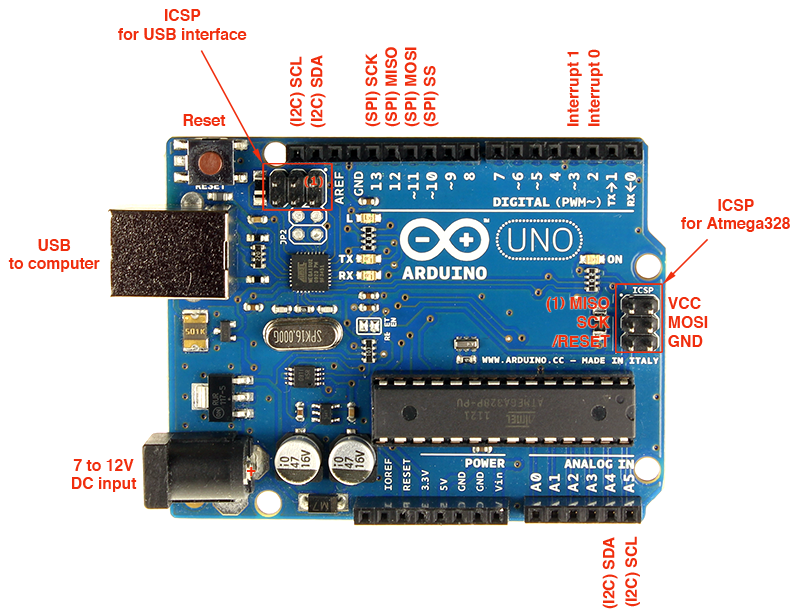
Arduino UNO Pinout
All Arduino UNO boards come with a bootloader that can be used to load sketches onto the board using the Arduino IDE with the STK500 protocol. You cannot use the IDE environment to develop applications on top of SDVOS. However, you do need the bootloader to upload the system image you built onto the board (You can actually program the microcontroller directly without a bootloader if you have an external programmer like the AVRISP mkII).
To upload binaries to the Arduino UNO board with the on-board bootloader, you need to install a tool called avrdude. On Ubuntu Linux, you can do this with the following command:
bash$ sudo apt-get install avrdudeWhen you configure an SDVOS instance for the Arduino UNO board, you need to specify the BOARD attribute in the OS object to ARDUINO_UNO. You should also set the CPU name to ATmega328p. An example might look like:
CPU ATmega328p {
  OS HELLO_OS {
    STATUS = EXTENDED;
    STARTUPHOOK = TRUE;
    ERRORHOOK = TRUE;
    SHUTDOWNHOOK = FALSE;
    PRETASKHOOK = FALSE;
    POSTTASKHOOK = FALSE;
    USEGETSERVICEID = TRUE;
    USEPARAMETERACCESS = TRUE;
    USERESSCHEDULER = TRUE;
    DEBUGLEVEL = 2;
    BOARD = ARDUINO_UNO;
    DRIVER = "uart/atmega328p_uart";
  };
  ...
};
After you configure the kernel with the system generator, the necessary headers and source files will be generated along with the kernel makefile. You can build the kernel by typing make and upload the kernel image to the board with make burn. When you type make burn, you are invoking the avrdude command. The upload command is defined in src/board/ARDUINO_UNO/config.mk:
UPLOAD_COMMAND = avrdude -c arduino -p atmega328p -P /dev/ttyACM0 -U flash:w:$(BIN):i$(BIN) will be replaced by sdvos.hex after you build the kernel.