Development Environment
Source Code, Compilers, and System Generator
STM32VL Discovery Board Support

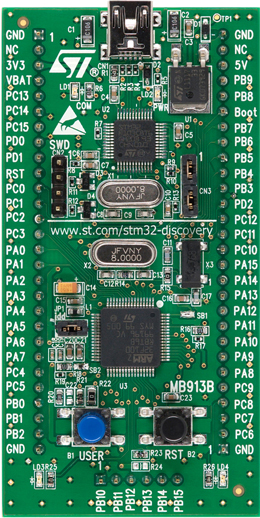
The STM32VL Discovery board is a low cost prototyping platform for the STM32F100RB ARM Cortex M3 microcontroller. It features 8K SRAM, 128K Flash, and 24MHz frequency. Unlike the Cortex M4 microcontrollers, the Cortex M3 in the STM32VL Discovery board does not have FPU support. Like the STM32F4 Discovery board, the STM32VL Discovery board also does not have support of the Arduino header. As a result, you will need a TTL USART to USB converter such as the SparkFun breakout for the FT232RL IC. You have to connect the breakout to the USART1 interface on your STM32VL Discovery board. If you do not know how to do this, please take a look at this blog post and follow the instructions.
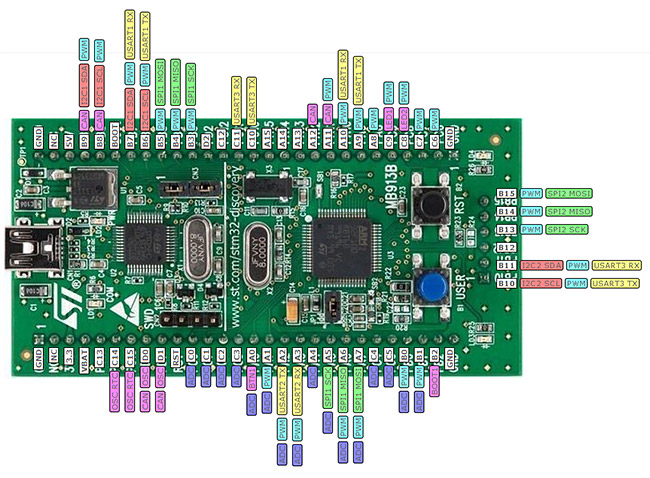
STM32VL Discovery Board Pinout

Pinout images from http://www.tech-blog.pl
Like the Nucleo boards, to upload images to the STM32VL Discovery board from your host machine, you will have to install the ST-LINK/V2 driver. On Linux or other UNIX-like machines, you have to do this by building ST-LINK from source. Go to https://github.com/texane/stlink and follow the instruction in the REAME file.
Now that you have the ST-LINK/V2 driver installed, you can start configuring, building, and uploading SDVOS for the STM32VL Discovery board.
When you configure an SDVOS instance for the STM32VL Discovery board, you need to specify the BOARD attribute in the OS object to STM32VLDISCOVERY. You should also set the CPU name to ARMCortexM3. An example might look like:
CPU ARMCortexM3 {
  OS HELLO_OS {
    STATUS = EXTENDED;
    STARTUPHOOK = TRUE;
    ERRORHOOK = TRUE;
    SHUTDOWNHOOK = FALSE;
    PRETASKHOOK = FALSE;
    POSTTASKHOOK = FALSE;
    USEGETSERVICEID = TRUE;
    USEPARAMETERACCESS = TRUE;
    USERESSCHEDULER = TRUE;
    DEBUGLEVEL = 2;
    BOARD = STM32VLDISCOVERY;
    DRIVER = "uart/stm32f10x_uart";
  };
  ...
};
After you configure the kernel with the system generator, the necessary headers and source files will be generated along with the kernel makefile. You can build the kernel by typing make and upload the kernel image to the board with make burn. When you type make burn, you are invoking the st-flash command that comes with the ST-LINK/V2 driver. For the STM32VL Discovery board, the upload command is defined in src/board/STM32VLDISCOVERY/config.mk:
UPLOAD_COMMAND = st-flash write /dev/sg0 $(BIN) 0x8000000$(BIN) will be replaced by sdvos.bin after you build the kernel.
The STM32VL Discovery board with Cortex M3 actually uses ST-LINK/V1. The SCSI interface might screw things up on Linux. You probably need to load the usb-storage module with some additional options to ignore the board as a storage device. If the upload command does not work on your system, please do the following with the board unplugged:
bash$ sudo modprobe -r usb-storage
bash$ sudo modprobe usb-storage quirks=483:3744:i
To load the module at boot time with the options, do the following:
- Add 'usb-storage' to /etc/modules in a single line. This makes the module load at boot time.
- Create a file called 'usb-storage.conf' in /etc/modprobe.d/. Add one line to the file: options usb-storage quirks=483:3744:i. This line can also be added to /etc/modprobe.conf if it exists.
Now, you can plug in the board. A new device file /dev/sg0 should be added. Flash the device with ST-LINK should succeed with the upload command mentioned earlier.